1. Beat eggs and sugar on high speed untill frothy and creamy.
2. Add in the essences and the food colouring and mix well.
3. Sift flour, baking powder and salt into the egg mixture and beat on medium speed.
4. Pour in half of the santan content into the mixture and blend well.
5. Alternate this step with the dry and wet ingredients, finishing off with the dry ingredients.
6. Beat till smooth.
7. Lastly, fold in the vegetable oil in the batter.
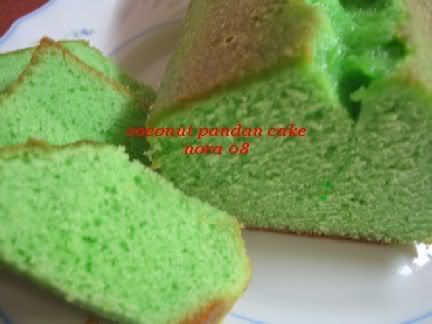
8. Pour the batter into loaf tins or you can use an eight inch cake tin.
9. Bake in 180 degrees celcius for 40 minutes or untill the skewer comes out clean.
10. Serve hot with a cup of steaming kopi kampung.
Labels: cakes

 Semoga jodoh kamu berdua berkekalan hingga ke syurga. Amin.
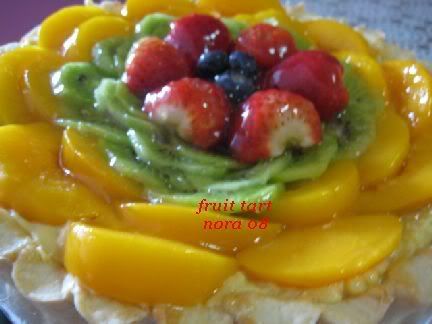 I contributed a fruit tart for the hantaran.
Sweet Short-crust Pastry
By Donna Hay's Modern Classics 2
Ingredients (serves 8)
2 cups plain flour
3 tbsp caster (superfine) sugar
150g cold butter, diced
2-3 tbsp iced water
1 beaten egg for glazing
Method
1. Place flour, butter and sugar in a bowl and rub in until mixture resembles bread crumbs.
2. Add in iced water to form a smooth dough and knead until just combined.
3. Wrap in cling film and refrigerate for 30 minutes.
4. Roll out pastry on a lightly floured surface until 3mm thick.
5. Place in 22cm (9 inch) tart or flan tin and prick base using fork.
6. Line with non-stick baking paper and fill with baking beans or weight.
7. Bake in a preheated oven of 180 deg c for 10 mins.
8. Remove beans and paper and glaze with beaten egg.
9. Bake for a further 10 mins until crust is golden brown.
Creme Patissiere
Ingredients
2 cups (480ml) milk
1 tsp vanilla extract/essence
4 egg yolks
1/3 cup caster (superfine) sugar
1/3 cup cornstarch (I used custard powder)
Method
1. Place milk and vanilla extract/essence in a saucepan over medium high heat and bring to a boil.
2. Set aside.
3. Whisk together egg yolks and caster sugar in a bowl until thick and pale.
4. Add in cornstarch and whisk to combine.
5. Place a piece of non-stick baking paper or plastic wrap directly on the pastry cream and set aside to cool.
6. Spoon onto tart shells and serve with fresh fruits of your choice.
* for the glaze, you can get the apricot glazing gel from Phoon Huat. add abt 1-2 tbsp hot water to the gel and brush onto the fruits. Otherwise, combine strawberry jam + hot water. Mix well and put thru' a fine sieve to obtain glaze. *
8:19 AM

Labels: dessert
8:10 AM

1:58 PM